Owncloud Installation Guide

Owncloud logo

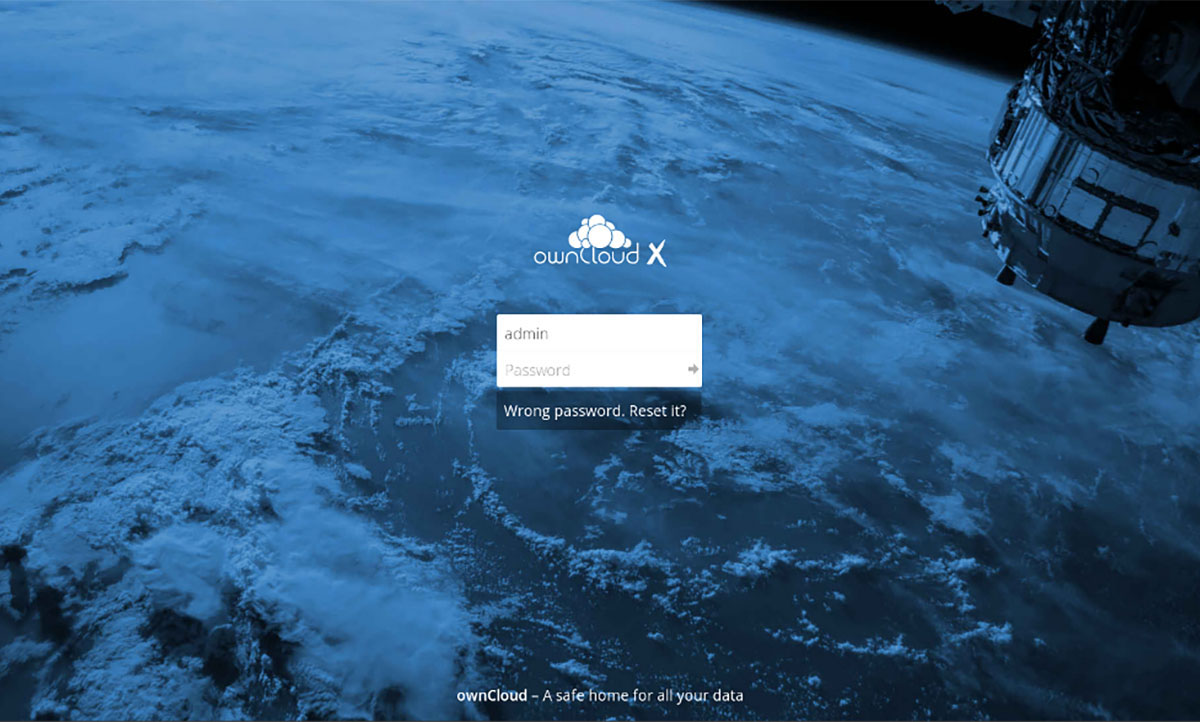
Have you always wanted your own cloud? If you have already set up a web server, for example with the help of our tutorial, you can now simply follow this tutorial to install Owncloud on your system (as of 8 July 2021).

You can read more about Owncloud itself, the advantages of the software and other information in the corresponding article.

Installation requirements

To install, you will need a configured web server with PHP support and access to a MariaDB/MySQL database. If you have followed our tutorial, these requirements are already met. Otherwise, please note that the tutorial assumes /var/www/ as the content directory and an SSL certificate in /var/www/ssl (see instructions).

Note: You do not need to do all these steps on your server/Raspberry Pi, but on another PC. We will connect to your server via this PC.

1. Configuring the server for Owncloud

irst we need to configure the SSL server in Nginx, the web server software. This step mainly concerns users who have set up a Raspberry Pi following our instructions.

Replace ||HOST|| with your host in the file provided here:

https://www.sim-networks.com/user/assets/getnginxconfig_owncloud.txt

and use its contents as server settings by replacing contents of the file with this command on your Raspberry Pi:

sudo nano /etc/nginx/sites-enabled/default

When you run the command, this website will generate a custom config file for you to use directly. If you are not using a Raspberry Pi as recommended in our guide, please configure the web server manually by editing the /etc/nginx/sites-enabled/default or /etc/apache2/sites-enabled/default file as described in the Owncloud Manual.

Important: if you did not follow our Raspberry Pi instructions, it is still possible to run the above command in your server's console. However, you will need to ensure that the files /var/www/ssl/cloudssl.crt and /var/www/ssl/cloudssl.key and /var/www/ssl/dhparam.pem exist and are certificate files for your SSL certificate.

We will now restart the Nginx web server:

sudo service nginx restart

2. Download the latest version of Owncloud

From here, download the latest version of Owncloud as a ZIP archive (Tarball > Current Version > Download ZIP). Then unzip the files into a folder of your choice.

3. Set up an FTP connection

Connect to your server via (S)FTP. Download e. g. Filezilla (direct download link).

Screenshot: Filezilla setting up connection

Enter all data as described above. For example, the local IP of your server/Raspberry Pi might look like this 192.168.178.64. The username for a Raspberry Pi is "pi" and the password is the password you have already assigned. For the port, enter 22.

If you are not using a Raspberry, just enter the appropriate credentials. For example, for "Server:" enter your homepage address example.com.

Then click on "Connect". If you are asked to trust the key, do so.

You will now see the folder structure on the server on the right. Navigate to /var/www/cloud. Once you are in this folder, you will need to upload the files as described in the next step.

4. Upload files

There are two ways to upload your files. You can either open the folder in File Explorer, copy all the files with [Ctrl] + [A] and drag them into the right-hand box in Filezilla.

Alternatively, on the left side where you see the files on your computer, you can navigate to the Owncloud folder you downloaded and unzipped earlier. Now select all the files and folders and start the upload process by right-clicking and selecting 'Upload'.

Important: Make sure that you do not upload the folder "owncloud", but only all files and folders from this folder!

The upload process may take a few minutes. You can see if any files still need to be transferred by looking at the bottom bar in Filezilla. If it is empty, all the files have been transferred.

After that, set the permissions again:

sudo chown -R www-data:www-data /var/www/cloud && sudo chmod -R 775 /var/www/cloud

5. Installation

Now open the setup in your browser using the server address (e.g. yourhost.twodns.de for the Raspberry Pi): https://YOUR.SERVER/index.php. You should see something similar to this screenshot:

Screenshot from setup Owncloud

If you have used a self-signed certificate - as in our Raspberry Pi tutorial - and get a warning, add a security exception rule (learn more).

If you don't get any more error messages, you can continue with the installation.

Enter your administrator credentials on the website. If necessary, click on 'Storage & Database' if the menu item is not expanded.

Make sure the data directory is correct (for Raspberry Pi: /var/www/cloud/data).

Then enter the MariaDB/MySQL credentials you specified earlier (on the Raspberry Pi: not the root credentials, but the MySQL user and password). The database host is usually "localhost“.

Then click "Finish installation". Everything should be working now. If you get any error messages, you may be able to find solutions in the Owncloud forum or by doing a web search. You can also check our FAQ.

6. Set up the client and install applications

To synchronise files with a folder on your PC, simply download the client you want. Go to the installation page and select the client for your operating system.

All you have to do is install it. During the installation, enter your server address (e.g. https://ihrhost.twodns.de) and the administrator credentials you created in step 4.

You can also access your Owncloud on the go with the dedicated smartphone apps. These are available for both iOS and Android.

Cloud Server

Cloud server

Learn more about the highly available public SIM-Cloud

Learn more

7. Information about Owncloud updates (required later)

If you are logged in and access the Owncloud web interface, you will be notified when a new version of the software is available. Usually you can easily install the update via the web interface.

If the update cannot be installed via the interface, follow these steps:

  • Connect to your cloud server using Filezilla.
  • Navigate to your cloud directory, e.g. /var/www/cloud
  • Highlight all the files and download them to your computer by right-clicking and selecting the 'Download' option. This will create a backup.
  • Once the process is complete, select all files on the server except the config and data (!) folders. Delete the marked files, e.g. by pressing the [Delete] key on your keyboard.
  • Download the latest server version of Owncloud and unzip it (see step 2).
  • Navigate to the unzipped files in Filezilla and upload all the files to your server, except for the config and data folders.
  • Then access the web interface to complete the Owncloud update process. If you get any error messages, reset the permissions as described above.

8. Done!

You have now completed the setup of your Owncloud. You can now access your own cloud server and synchronise files with Owncloud. If you log in to the web interface you previously installed, you will see that you can also add users and allocate storage space to them via the administration menu.

Enjoy your Owncloud.

Was this article helpful?

Did you like the article?

Cookie consent

By clicking «I agree», you consent to our website's use of cookies to give you the most relevant experience by remembering your preferences and repeat visits. However, you may visit «Manage сookies» to provide controlled consent. Learn more

Cookies settings

functional

Necessary cookies are crucial for the basic functions of the website and the website will not work in its intended way without them.

Analytics

Analytical cookies are used to understand how visitors interact with the website.

Advertisement

Advertisement cookies are used to provide visitors with relevant ads and marketing campaigns.