How to Set Up Your Own Cloud Storage

Learn the Basics about Cloud Services and Set Up Your Own Cloud

Do you want a cloud and are looking for instructions on how to set up a solution yourself? Then this article will guide you step by step.

There are several ways to get your own cloud:

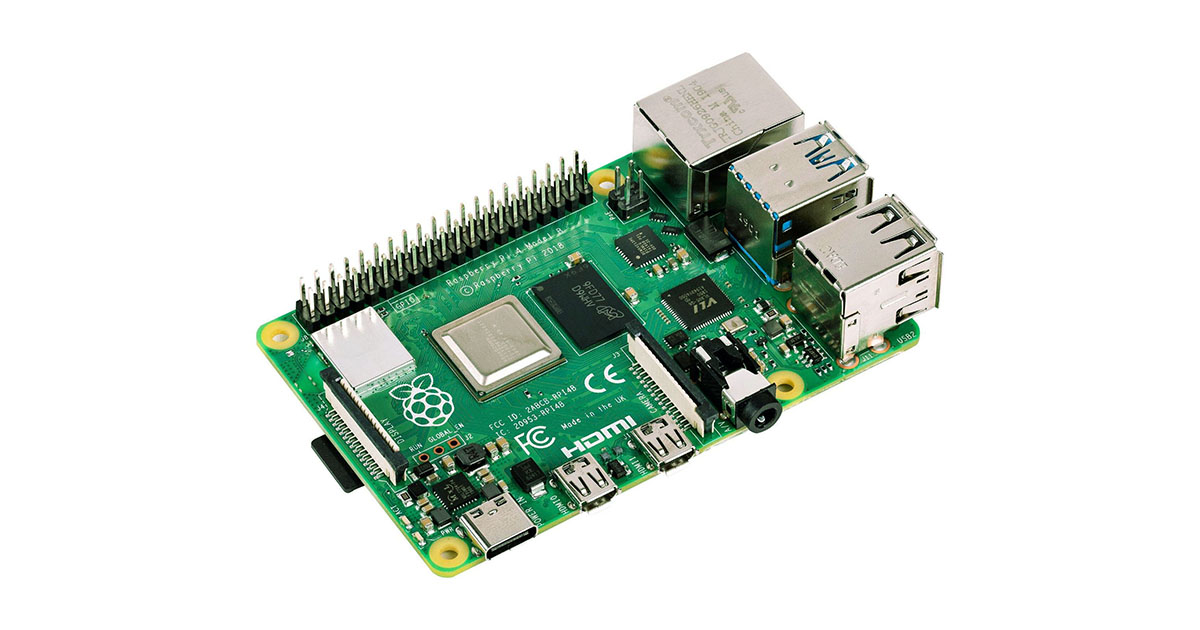
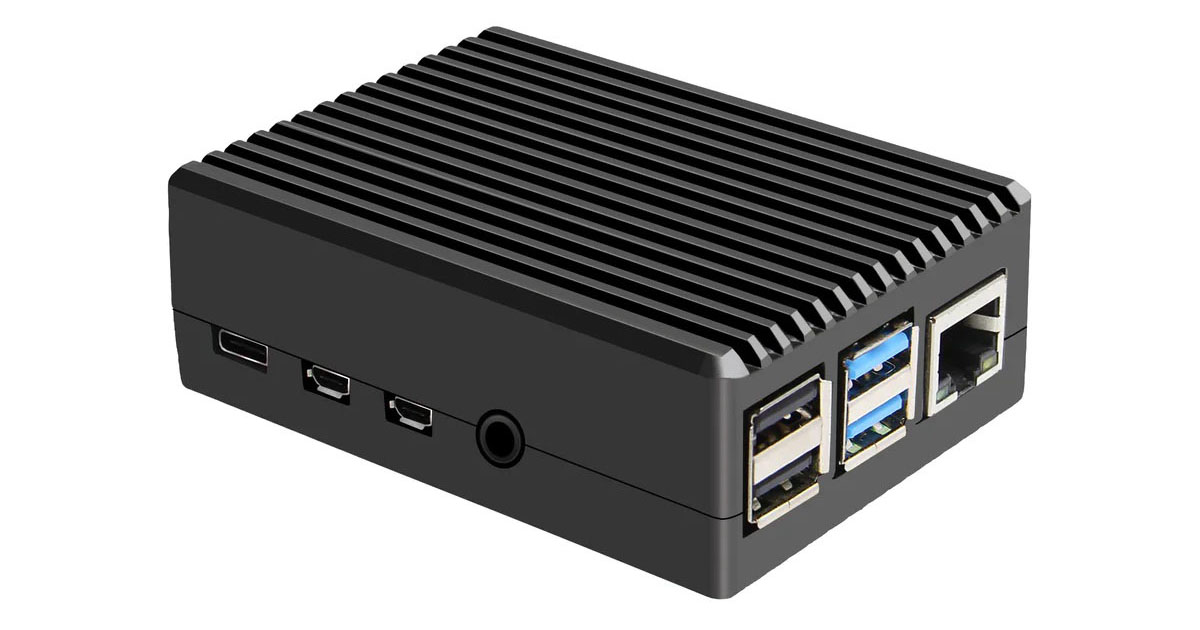
  1. Cloud for your home for less than €100 Follow our instructions in this article and we will show you how to set up a Raspberry Pi as a cloud server yourself with basic technical knowledge - using the cloud software of your choice (e.g. Nextcloud).
  2. Ready-made cloud server for home: Want to have a small cloud server at home without the effort of setting it up? There is also alternative cloud hardware.
  3. Dropbox alternatives/cloud providers: You don't want the cloud server at home? Get an overview of cloud hoster where you can rent a solution.
  4. Business solutions: Don't want a private cloud at home? Then cloud providers for businesses are the right choice for you.

If you decide to set up a private cloud at home, this article will give you detailed instructions. We will take an in-depth look at how to set up a small server so that you can soon have your own cloud server at home. Of course, we will also look at the pros and cons of having your own private cloud.

Frequently asked questions about your own cloud and answers can be found in our FAQ.

What is a cloud?

What is a cloud

The term "cloud" is short for "cloud computing".

A cloud can host many different services. It is an abstract structure and the user is not always aware of how many servers are working for them in the cloud - it is rarely relevant to the user. When you store something in the cloud, you are using a service that communicates with your provider's servers and stores the data there. Read the article for more information: What is a cloud?

When we talk about "owning a cloud" below, we're not talking about you building a large network of servers to run different processes. This tutorial will help you set up your own small server to store and synchronise your data. So it is mainly about storage space in the cloud.

Pros and cons of your own cloud

The main providers, such as Dropbox, Google Drive, iCloud, etc., have numerous servers and host the files of millions of users. But this comes with its own problems:

  • How can you be sure that your files are not being viewed by others?
  • How do you prevent unauthorised and criminal access to your sensitive documents when you have no control over the servers?

The short answer to these questions is: unfortunately (almost) you can't, if you don't want to or can't trust these providers - for example because Google, Dropbox etc. operate their servers in the USA or as a US company.

Many have become more sensitive about the way they handle your data since it became known that the US authorities can access the servers of large IT companies based in the US, for example through the so-called PRISM-Program. Most of the major cloud providers are based in the US: Google with Google DriveDropbox, Microsoft SkyDrive, Apple iCloud and many more. Files stored there are not always encrypted, even though progress has been made in this area.

Almost everything in this world has a value and a price. So you have to ask yourself how a cloud service can pay for the huge IT infrastructures. There may be services - including some in the US - that protect your data and offer pay-as-you-go pricing over a certain amount of storage. But there are also services that are interested in your data - cloud service providers, intelligence services, etc.

If having your own cloud at home would cost you a lot of money, it would probably not be a serious alternative. But this is not the case. In some cases, you can even save money compared to cloud service providers.

Some of the benefits of having your own cloud include:

  • Your data is close to you. The small computer we are going to introduce you to in this article can be set up in your home. So your data is really with you. If someone else wanted to access your data, they would have to break into your system or your house.
  • You are independent. You are no longer dependent on large, mostly US-based cloud service providers. You no longer have to worry about prices increasing with one of these providers, because you only pay for your internet access, electricity costs and a one-off purchase price for a small server.
  • You have full control. You can distribute the space you have to different users. For example, other members of your family can use your cloud server.
  • You pay for something physical. With a monthly or annual fee from a cloud provider, you get the storage for that period. When the contract ends, you no longer have access to the storage.

With your own cloud, you only have to pay once (apart from fees such as internet connection, see 'Fees') and then you have something in your hand. When you no longer want to use the cloud, you can use the devices you ordered for it elsewhere. For example, for your own media server, or for one of the many other uses described in the Raspberry Pi manual.

  • You often save money. If you need more than 5 or 10 gigabytes, cloud providers usually charge for their services. So in the long run, your own cloud can be cheaper.

Disadvantages of your own cloud

However, you should also be aware of the disadvantages of having your own cloud:

  • Setup requires some time & knowledge. Setting up your own cloud takes time. We want to give you all the knowledge you need to set it up with this guide. So if you follow this article step by step, you will be able to set up the cloud using this guide in a matter of minutes to hours. However, you should have a basic understanding of and interest in technology.

You will also need to regularly update the software yourself.

  • You are responsible for your data. The control mentioned above is also a drawback. You should be aware that the data stored in your cloud is only stored on the small computer's storage. So if you are burgled, or if any part of your server is damaged or even destroyed, that data will be irrevocably deleted from your cloud.

    The systems recommended here provide basic protection against hacking. However, outdated versions of software are a particular risk. However, since your cloud is not as well-known as Dropbox etc., it will at least fly under the radar and is usually of little interest to hackers.
  • Possible loss of speed. Let's say you have an internet service that guarantees you 16 Mbps download and about 2 Mbps upload. So if you upload to one of the providers mentioned above, for example Dropbox, you can upload at a maximum of 2 Mbps. Even with your own cloud, you can upload at a maximum of 2 Mbps (about 0.25 megabytes per second), while the cloud could theoretically download up to 8 times as much (16 Mbps) at the same time.

    According to this calculation, it doesn't matter whether you use your own cloud or a cloud provider, but the small computer that serves as your server and the software installed on it are not as powerful as the hardware and software of a cloud provider. So synchronising with your own cloud (on your phone or PC, for example) may be a little slower.
  • Difficult to share. If you want to share a lot of content with friends in the cloud, you will need a powerful server. For more information, see our article on cloud hardware.

Are you convinced of the benefits of your own cloud, or at least curious? Then let us show you how to set it up and what you need.

The requirements

The following requirements must be met:

  • You need an internet connection and a router with a LAN connection that is up and running 24/7. This is usually the case.
  • You will need solid PC skills to follow these instructions.
  • You will need to make a one-off investment in a server system.

Things you need once

Regardless of which server system you choose, you will need the following items once for configuration and setup, and it will only take a few minutes:

  • a microSD card reader. Usually a standard SD card reader with a microSD adapter will suffice.
  • a keyboard - preferably a wired one, as it uses less power.
  • an HDMI cable and an HDMI monitor. A standard TV with an HDMI port and cable will work.

    It also is possible to do without a monitor and keyboard:

    If you do not have access to a wired keyboard, HDMI cable and HDMI monitor, you can still set up Raspberry Pi with the appropriate knowledge (to find out the local IP address). To do this, note the following additions: After step "Copy operating system": Open the microSD card or the "boot" partition in Windows Explorer after writing to it. Create an empty document called "ssh" (no extension; delete if Windows adds one).

In step "Setting up the Raspberry Pi": Download and install Putty for Windows. Find out the local IP address of the Raspberry Pi after powering it up. Now use Putty to connect to your Raspberry Pi using the local IP and username, and continue with the tutorial normally.

Using Raspberry Pi as a cloud server

The Raspberry Pi is a small, minimalistic computer. It is nowhere near as powerful as a standard computer, but it only costs between €40 and €60, depending on the model, and is perfectly adequate as a simple cloud server. Together with the other accessories, you will end up with around €100.

Below is an overview of the products you will need. You can also read more about the Raspberry Pi and see what people have realised with it.

In any case, you will need the Raspberry Pi, a suitable case and a suitable power supply: Raspberry Pi 4 Model B Raspberry Pi Case Power Supply for Raspberry PI 4

You will also need storage for your cloud. The Raspberry Pi operating system requires about 8GB of memory. So, to calculate the size of the memory card you need: 8GB + your desired cloud storage = memory card size.

If you need more than 55GB of cloud storage, you may want to consider an external hard drive - with its own charging cable. Then all you need is an 8GB microSD card. In this case, when you install the cloud software, create a directory on that hard drive, such as /media/hard drive/cloud, instead of /var/www/cloud. For instructions on how to do this, see e.g. here (optionally do step 6 and set the permissions at the end with the chown and chmod commands, as in "Setting up an SSL connection").

With the microSD card, the higher the read and write speed, the faster your cloud can process files.

If you do not already have a microSD card of the appropriate size, you should buy one. We also recommend using a LAN connection. If you don't already have one, you'll need a LAN cable. Here are two suggestions if you don't already have either of these products: sandisk-memory-card.jpg Ethernet-network-cable 
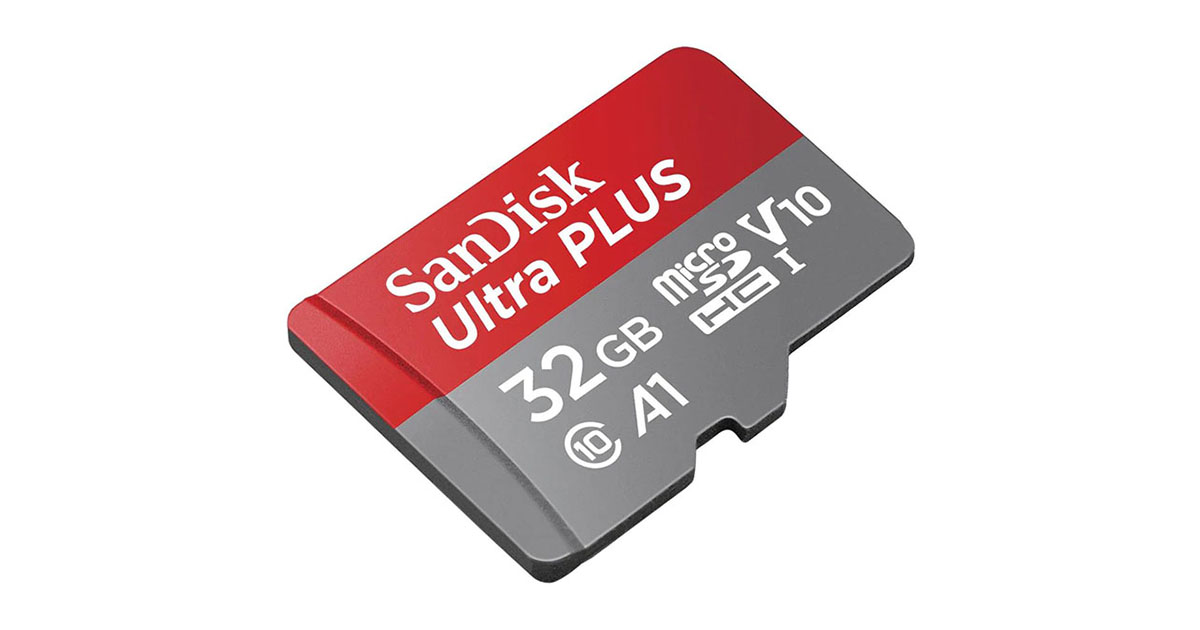
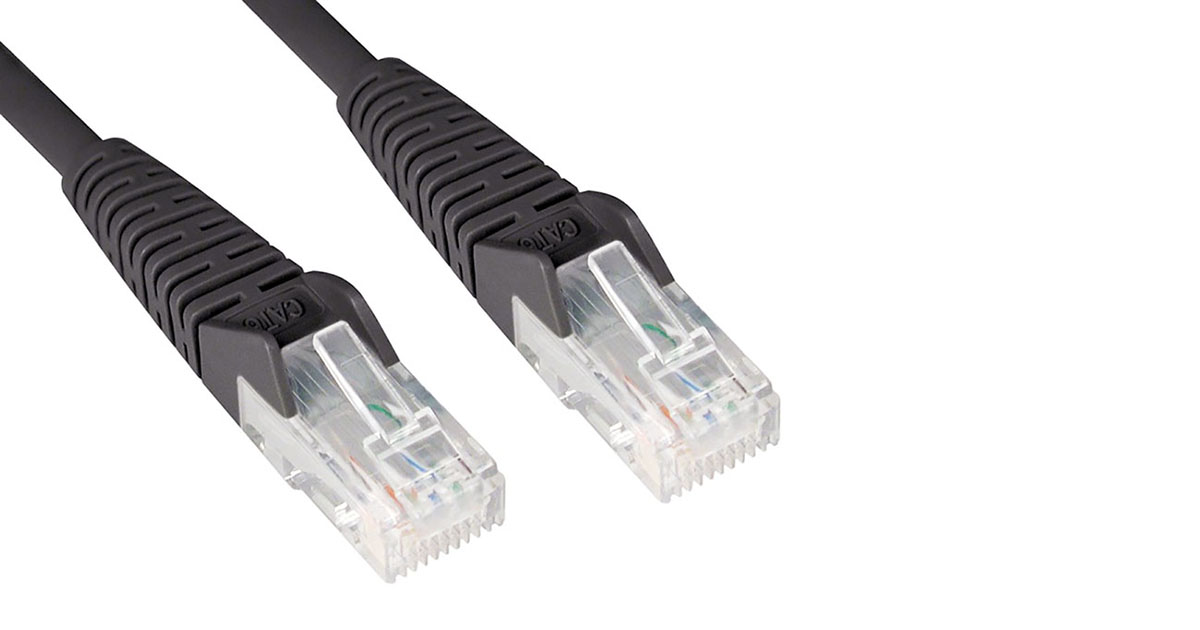
Have you got everything you need? Good, then you can get started!

Copying the operating system

Go to this website. Select Raspberry Pi OS (64-bit) and then Raspberry Pi OS Lite. Click 'Download' to download the file.

Note: You can also use the graphical desktop version of the OS ("Raspberry Pi OS with desktop"). This will make it easier to set up, but may result in a loss of performance when running in the cloud.

Connect the SD card reader to your PC and insert the SD card you ordered into the slot provided. The card should now be recognised by your PC.

Check the file system on the SD card. In Windows, go to "Computer" or "This PC" and right-click on the removable drive (if there are multiple entries, check which one was added when you inserted the SD card). Click on the properties and you will see information about the card. If it says "File system: FAT32", you can ignore the next paragraph.

If you have a different file system, close the 'Removable Disk Properties' window and right-click on the 'Removable Disk' entry again. Click on "Format..." and select "FAT32" under File System. Click 'Start' to begin formatting. When the process is complete, you can continue.

image_writer_windows.png

Download and install Image Writer for Windows (or another similar programme). Start the .exe file by double clicking on it. The programme window will open. If you encounter any problems, right-click on the file to open the context menu and select 'Run as administrator'.

As an intermediate step, you will need to unzip the .img.xz file you downloaded in step 1 and convert it to a .img file. You can install and use the trial version of WinZip to unzip the file.

Click on the button marked "1." and select the previously unzipped file. Enter the drive letter of your microSD card under "2." and then click on "Write" ("3.").

The operating system will now be written to the microSD card. This may take a while. If you see a message before then, confirm and continue.

If you are using a Mac, the process will be slightly different. This Video-Tutorial on YouTube shows you how to format the microSD card. You can also use this Image Writer for example, to write to the microSD card on your Mac.

Setting up the Raspberry Pi

Once you have opened the case, you should first insert the microSD card into the slot on the bottom as described here. Now you can carefully anchor the Raspberry Pi into the bottom of the case and slide the top of the case over it.

Connect the HDMI cable to the Raspberry Pi (left connector labelled 'HDMI0') and your HDMI monitor. Also use one of the USB ports to connect a wired keyboard. You should also connect one end of the LAN cable to your router (e.g. Fritz!Box) and the other to the Raspberry Pi.

Once you've done this, you're ready to go. Plug the power supply into the socket and the other end into the Raspberry Pi's port. It will now power on automatically.

You will now be asked for your login details. Enter "pi" as the user and "raspberry" as the password. Please note that the keyboard settings are usually not preset for English-speaking countries. For example, "z" and "y" may be reversed on your keyboard. In this case, you must enter "raspberrz" as the password.

To run the configuration tool, type the following command:
sudo raspi-config

raspiconfig_menu.png

You should now see the following interface (see picture or similar). Here you can change some settings.

  1. If needed you can change the language setting. Use the arrow keys to select "Localisation Options" and press [Enter]. Then select "Change locale" and confirm any prompts with the [Enter] key. Use the arrow keys to select for example "de_DE.UTF-8 UTF-8", if you speak german, select it with the [Space] key and confirm with [Enter]. If prompted, you can also select this option as the default.
  2. The next step is to change the keyboard layout, if needed. To do this, go back to the Localisation menu and select the appropriate keyboard layout option (e. g. "I3"). Select the appropriate entry, experimenting if necessary, and confirm.
  3. Once the process is complete, you can change the user password. Select the appropriate option (e.g. "1 Change User Password") and press [Enter] twice. You will be asked to enter a new password. Think of a secure password or use a Passwort Generator. Enter your password (without umlauts, z and y if possible). Don't be confused if nothing happens on the screen while you are typing. When you have finished, press [Enter], enter the password again and press [Enter] again. When the message appears, press [Enter] again.
  4. There are still some settings to be made. Go to "Advanced Options" and select "Expand File System". Press [Enter] to confirm. Now go to the "Interfacing Options" menu, select "P2 SSH" and use the arrow keys to select "Yes" (or: Enable/Yes) and continue with [Enter].
  5. Use the arrow keys or the [Tab] key to navigate to "Finish" and press [Enter]. Type the following command to reboot the Pi:
    sudo shutdown -r
    After rebooting, you will be prompted for your username ("pi") and new password. Type the username first, confirm with Enter, and then do the same for the password (note any different keyboard layouts).

The first thing we need to do is update the Raspberry Pi to the latest version:
sudo apt-get update && sudo apt-get upgrade
If you are asked if you want to continue, just press [Enter]. You may need to be patient for a while.

Setting up a web server

In order for your Raspberry Pi to run your cloud PHP scripts and be accessible over the internet, you will need to set up a web server and database server. We will use nginx for this.

To get started, we will add more package sources that provide the latest versions of the software we need:
sudo wget -qO /etc/apt/trusted.gpg.d/php.gpg https://packages.sury.org/php/apt.gpg && echo "deb https://packages.sury.org/php/ $(lsb_release -sc) main" | sudo tee /etc/apt/sources.list.d/php.list
Then update the package list:
sudo apt-get update
Now install the first packages:
sudo apt-get install nginx php8.2-fpm php8.2-mysql mariadb-server mariadb-client
When you are asked if you want to continue, press [Enter].

Now set up the database server:
sudo mysql_secure_installation If you are asked for your password, skip the prompt and press [Enter], as there is none currently set. Confirm the following prompts with Y and [Enter]. When asked for a new password, enter a secure password for accessing the database and write it down. The password will not be displayed as you type, so do not get confused.
Set root password? [Y/n] Y
Remove anonymous users? [Y/n] Y
Disallow root login remotely? [Y/n] Y
Remove test database and access to it? [Y/n] Y
Reload privilege tables now? [Y/n] Y

Next, install some required packages by typing this command. These include the vim editor, which allows you to edit files. Confirm any questions with the [Enter] key.
sudo apt-get install php-pear php8.2-{xml,cli,gd,intl,curl,zip,mbstring} vim openssl
Open the PHP configuration file with the following command, so that future updates require fewer changes:
sudo vi /etc/php/8.2/fpm/pool.d/www.conf
You should find a "listen" line without a ";" in front of it by scrolling with the arrow keys. Change the line if necessary (e.g. from "listen = /var/run/php8.2-fpm.sock") so that it looks like this:
listen = 127.0.0.1:9000
Press [Insert] to edit the line. Then press [Esc], type ":wq" (= close and save) and press [Enter] to save the file..

Port sharing & dynamic DNS

In order to be able to access your server from the outside, you will need to set up port sharing on your router. This varies from router to router. First you need to know your IP address. To do this, type the following on your Raspberry Pi:
ifconfig
Somewhere in the output you will see an entry similar to the following: "inet address: 192.168.178.47". The underlined part, which will probably be a different number in your case, is your local IP address.

Now set up (HTTPS) port sharing (TCP) on your router for incoming port 443, outgoing port 443 and the machine with your local IP address. This will vary depending on your router model, here are instructions for some routers:

You will usually have a dynamic IP address to the outside world - not the internal IP address of your Raspberry Pi. This means that your IP will change regularly. You will therefore need to choose a dynamic DNS provider. Simply choose one of these providers:

Now sign up for a free plan at one of these sites. There you will create a so-called hostname, e.g. "muellercloud.twodns.de". Your cloud will be accessible under this name. On the Dynamic DNS provider's site, you will probably also find information on how to set it up in your router.

No information there? Then try the administration menu of your router (for Fritz!Box, type "fritz.box" in your browser) and search for "Dynamic DNS". Once you have found such a menu item, enter your login details and, if necessary, your host name.

Once you have both registered with a provider and set it up correctly in your router, you can proceed to the next step.

Setting up an SSL connection

You have almost reached the end of this tutorial. After the next two steps you will have a correctly configured small server. But first we need to make sure that you can synchronise your files over SSL in an encrypted way.

Next, a secure but untrusted (= requires confirmation in the browser) certificate will be generated. If you want to open your cloud to other users, you can follow this Let's Encrypt-Tutorial.

Run the following command to create and change to a new directory:
sudo mkdir -p /var/www/{ssl,cloud} && cd /var/www/ssl
To ensure that the user Pi can access the files later, we create a new group and add Pi to it:
sudo addgroup pi && sudo usermod -aG pi pi

Then we change the permissions on the folders:
sudo chown -R www-data:pi /var/www/cloud && sudo chown -R pi:pi /var/www/ssl && sudo chmod -R 775 /var/www/cloud && sudo chmod -R 770 /var/www/ssl
Now use the following command to create a self-signed SSL certificate:
sudo openssl req -x509 -nodes -days 9999 -newkey rsa:2048 -keyout cloudssl.key -out cloudssl.crt
If you are asked for a "challenge password", you can think of one and confirm it with [Enter]. As "Common Name" you can enter your host name (e.g. mycloud.twodns.de). Other fields can be left blank by pressing [Enter].

We get extra security by enabling what is called Diffie-Hellman key exchange. Make yourself a cup of coffee or tea and run this command first. It may take a few minutes to run (about 15-20 minutes in our test):
openssl dhparam 2048 > /var/www/ssl/dhparam.pem
The next step is to configure PHP so that large files can be uploaded without problems. To do this, run the following command, which will show PHP configuration file:
sudo nano /etc/php/8.2/fpm/conf.d/user.ini
And tweak the variables with the following values: upload_max_filesize=1G ... post_max_size=2G ... max_file_uploads=25 Now restart the web server and PHP:
sudo service nginx restart && sudo service php8.2-fpm restart

Setting up the MySQL database

We will now set up a MySQL/MariaDB database. If you have already set a database password above, type the following command into your Raspberry Pi's command line, replacing the square brackets with the database password you set earlier. Please note: Please replace or remove the square brackets in all the following examples!
sudo mysql --user=root --password="[YOUR DB-PASSWORD]" mysql
Now make a few more changes:
MariaDB [mysql]> update user set plugin='' where User='root';
MariaDB [mysql]> flush privileges;

Now we create a new database, you can choose any name from letters, numbers and underscores, but remember it. The following command is required, confirmed with [Enter]:
CREATE database [DB-NAME, e.g. cloud_db];
Then we create a new MySQL user and give it full rights to the database. To do this, you need to come up with a user name and, in the next step, a MySQL user password. Fill them in in the commands:
GRANT ALL PRIVILEGES ON [DB-NAME].* TO '[MYSQL-USER-NAME]'@'localhost'
Press [Enter], then type the following and confirm with [Enter]:
IDENTIFIED BY '[MYSQL-USER-Password]';
If the message "Query OK" appears, you have set up the database and user correctly. Please make a note of all the data as you will need it later. Press [Ctrl]+[C] to close the programme.

Please note: You should update your Raspberry Pi from time to time to avoid security vulnerabilities.

Now we are done with the first part of this tutorial...

Cloud-Software

... the only thing missing is the installation of cloud software. We have selected several programmes for this purpose. Click on the link to choose a programme. By clicking on the "Tutorial" link for each software, you will find instructions on how to set up the software.

Don't know which cloud software to choose? Then we recommend the installation instructions for Nextcloud, which are based directly on this tutorial.

Alternatives

If you have decided not to use a Raspberry Pi, for example because you need a cloud server with even better performance, here are some alternatives:

Ready-made cloud servers

Ready-made solutions are usually aimed at non-experts and take much less time to set up.

You can find out more about NAS systems and ready-made server hardware for your cloud in server hardware comparison. There you will find a wide range of equipment compared.

Online Cloud Providers

Don't want to run your own server at home 24/7? Then an online solution is likely to be right for you. The web server is not located at your home, but the provider charges a small fee for the web space.

Conclusion

As you can see, there are several ways to set up your own cloud. You can buy your own small server, such as a Raspberry Pi or other hardware. It's not too hard to set up a cloud using the instructions here.

Alternatively, you can use a cloud hoster or cloud provider. You buy virtual storage space on the web and then set up your cloud there. They will often take care of the setup for you.

Ultimately, it is up to you to decide how you want to set up your own cloud.

Was this article helpful?

Tags:

#cloud

Did you like the article?

Cookie consent

By clicking «I agree», you consent to our website's use of cookies to give you the most relevant experience by remembering your preferences and repeat visits. However, you may visit «Manage сookies» to provide controlled consent. Learn more

Cookies settings

functional

Necessary cookies are crucial for the basic functions of the website and the website will not work in its intended way without them.

Analytics

Analytical cookies are used to understand how visitors interact with the website.

Advertisement

Advertisement cookies are used to provide visitors with relevant ads and marketing campaigns.