1. Connecting to VM via WEBUI
Please make sure before you start that your browser allows you to run the WEBUI web client and is included in the list of supported ones:
- Mozilla Firefox v. 39 or later (for Windows, Mac OS, Linux);
- Google Chrome v. 34 or later (for Windows, Mac OS, Linux);
- Microsoft Internet Explorer v. 10.0.19 or later (Windows only).
To access virtual machines via the WEB interface (on servers running the ESXi v. 6.5.0 - 6.7.0 hypervisor), you need to type the value "https://host_or_server_name/ui" from the service activation letter in the browser address bar.
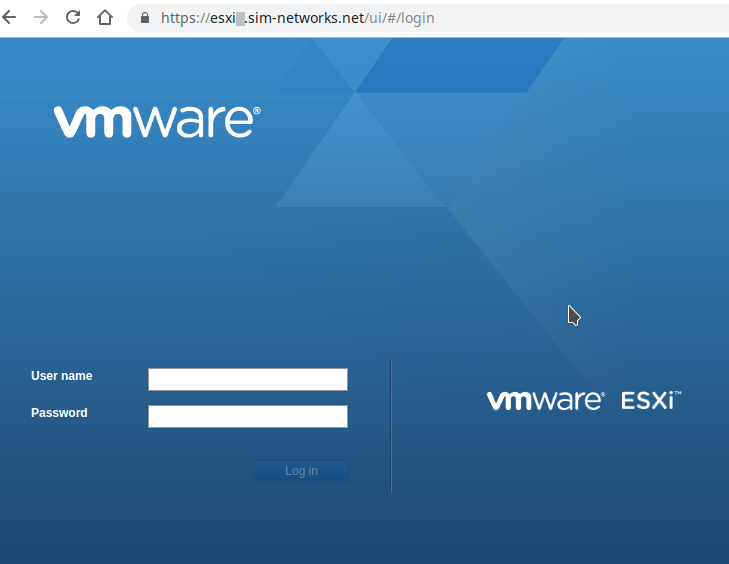 Login WEB-interface
If necessary, switch the input language from your keyboard. Enter the login (in the "User name" field) and password (in the "Password" field) given to you when activating the service. After entering the control panel, in the window that opens, a list of virtual machines is available on the left (on the right there are tabs for management and monitoring).
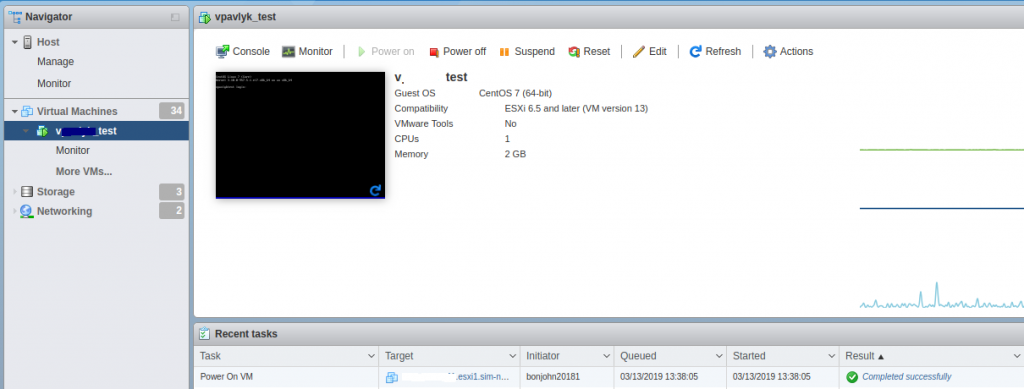 Control panel WEB-interface
Select a virtual machine in the panel on the left, marking the line with the name of the VM with one click of the manipulator ("mouse" / "touchpad" / "trackball", etc.). Next, you can use the tabs on the right side of the panel to manage the VM:
- Console - select the type of console for working with VDS;
- Monitor - use the server resource monitoring panel;
- Power On/Off, Suspend, Reset - control on/off, suspension and restart of the server;
- Action - opening the server console, setting access parameters, and performing a "snapshot" of the server.
By opening the server management console, you can:
- manage its power supply;
- send a control key combination (for example, Ctrl-Alt-Del) to the OS using the "Guest OS" menu section and the "Send Keys" function;
- change the server name;
- select the required console screen resolution, etc.
 Console WEB interface
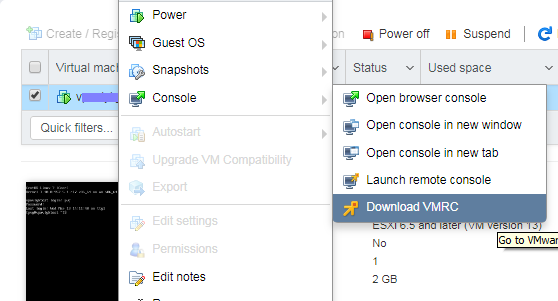
To proceed, you need to mount the bootable ISO disk image to your VM's virtual DVD drive, using one of two methods:
- using a standard user web-panel (WEBUI);
- using the VMware Remote Console utility (application).

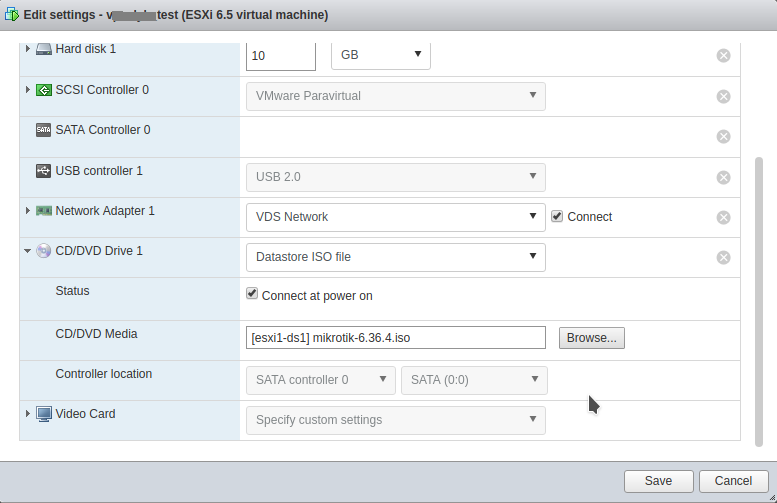 Mounting the ISO Image WEB Interface
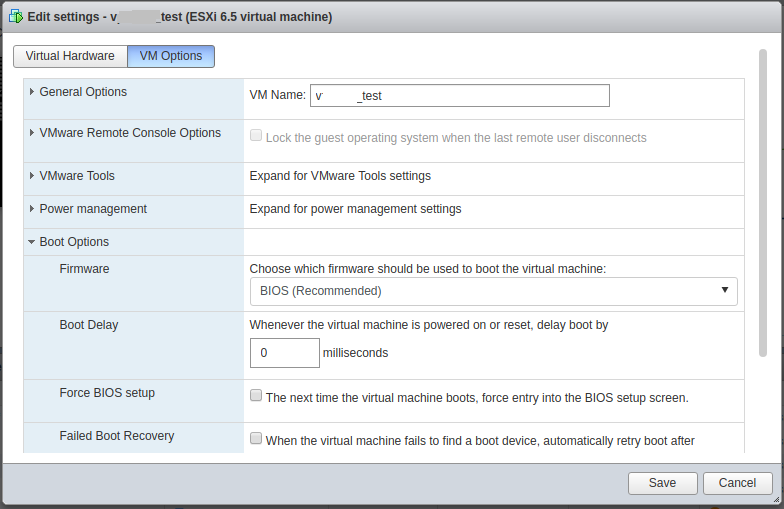 BIOS Settings WEB interface
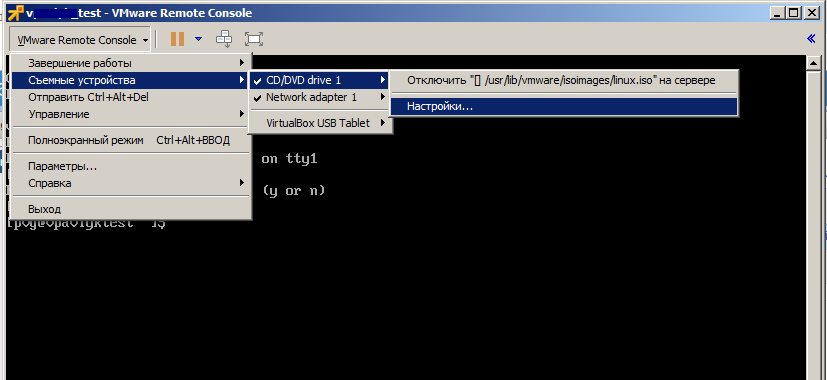 Mounting the VMware Remote Console ISO Image
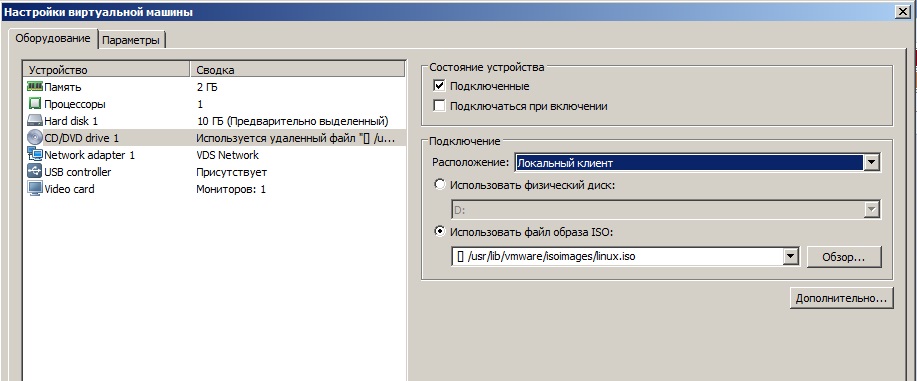 Mounting your VMware Remote Console ISO


