About server connection speed and how to test it correctly

Many clients contact technical support with similar complaints: I connect to the server, but files are transferred with a speed of 10 MB/s in the tariff of 100 Mbit/s. Or: In our office, the tariff is 1 Gbit/s, and we rent a server with a speed of 1 Gbit/s, but files are transferred so slowly, etc.

So why might this happen? Let's sort it out in order. The answer to the first question is simple. It is just a difference in measurement units. Historically, all Internet providers have always offered their services by measuring speed in “bits,” while software and operating system manufacturers measure in “bytes,” which leads to an 8-fold difference.

Many will say, wait, because even if so, another 20 Mbit is still missing, or 2.5 MB/s as we know now. And here we are approaching already the next question.

The fact is that achieving the maximum speed specified in the tariff is possible in laboratory conditions and almost impossible in actual operating conditions. Internet speed testing services (e.g., speedtest.net) partially confirm this. However, do not rush to get angry! No one is trying to steal this ~20% from you. Due to this difference, the integrity of data delivery is achieved.

The difference can be even bigger, especially as the channel width increases, and there are several possible reasons for this behaviour.

  1. The very first possible and most common reason is the use of a protocol not suitable for its intended purpose. Using protocols like RDP(Windows)/SSH(Linux) the file transfer speed can be even less than 10% percent of the Internet channel width. Since the main task of these protocols is to maintain communication to control a remote device, and if the entire channel is occupied by file transfer, then the server will no longer be manageable.

  2. The second most common reason is bottleneck. This term refers to the presence of the narrowness in the data path. For example, you ordered a service with a channel width of 1 Gbit/s. The speed of the Internet provider is 1 Gbit/s. However, you are using an outdated Wi-Fi router that cannot transmit information to your device at such a speed. A bottleneck may occur for providers due to problems, accidents, load surges, non-optimal equipment configuration, etc.

  3. Internal TCP mechanisms affect download speed. Most modern application-level information transfer protocols rely on lower-level network protocols. The most commonly used protocol is TCP. Thanks to TCP, developers do not need to re-implement a lot of functionality, such as packet delivery verification. However, the TCP protocol creates sessions for its work. The speed of one such session can rarely exceed 300 Mbit/s; as a rule, it is several times less.

  4. Delay (ping/lag) in the network. The greater the distance between your device and the server, the longer it takes to transfer data back and forth due to network latency.

  5. Inefficient network paths. The routes that data takes from the server to you may not be optimal, which can also be a reason for slower data transfers.

These are just a few of the reasons for the file transfer speeds drop. Some of them you can influence, others your service provider can affect, and some reasons, unfortunately, cannot be controlled.

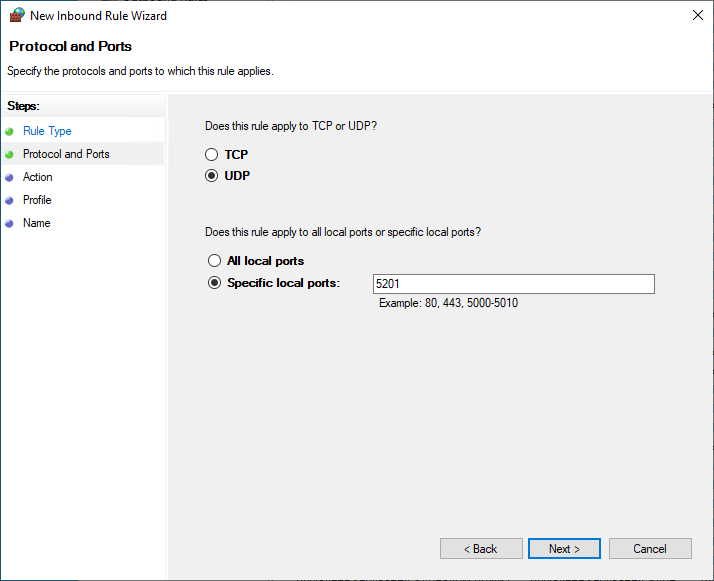
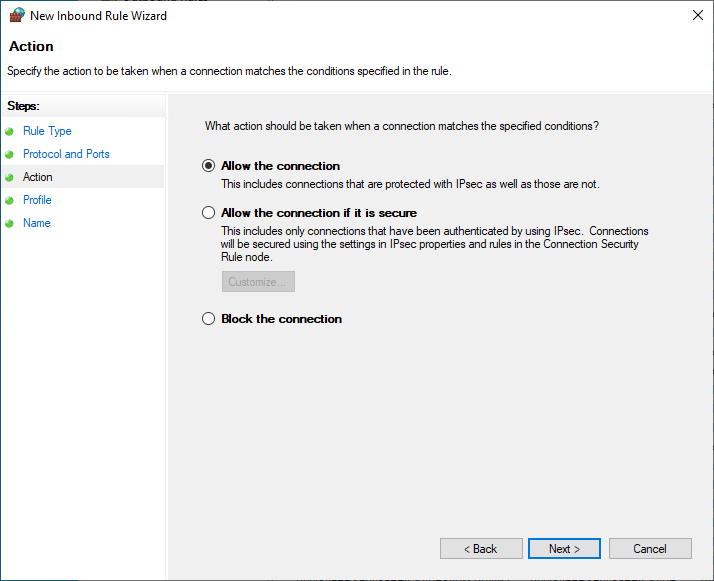
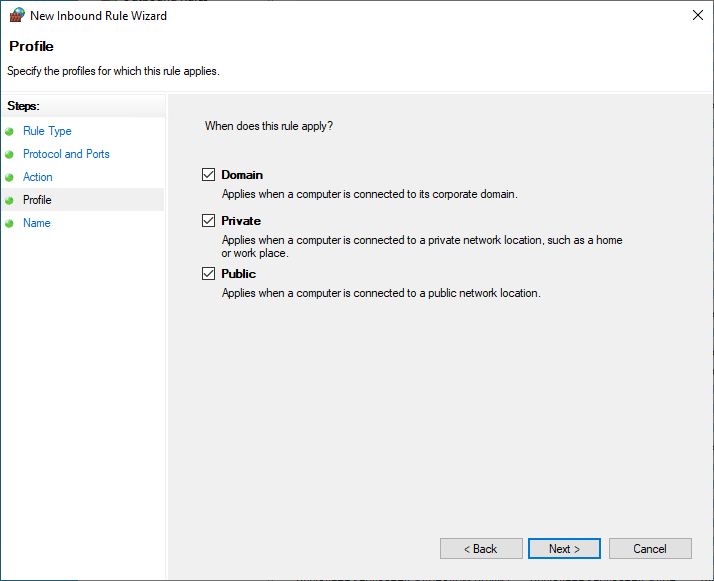
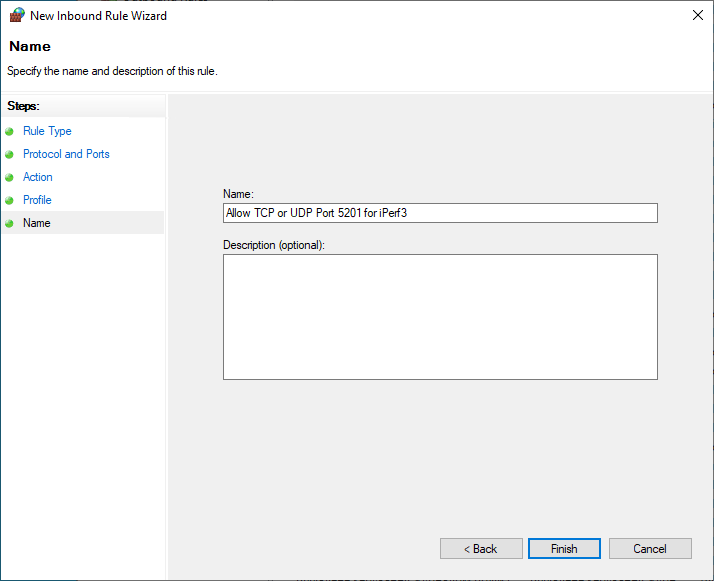
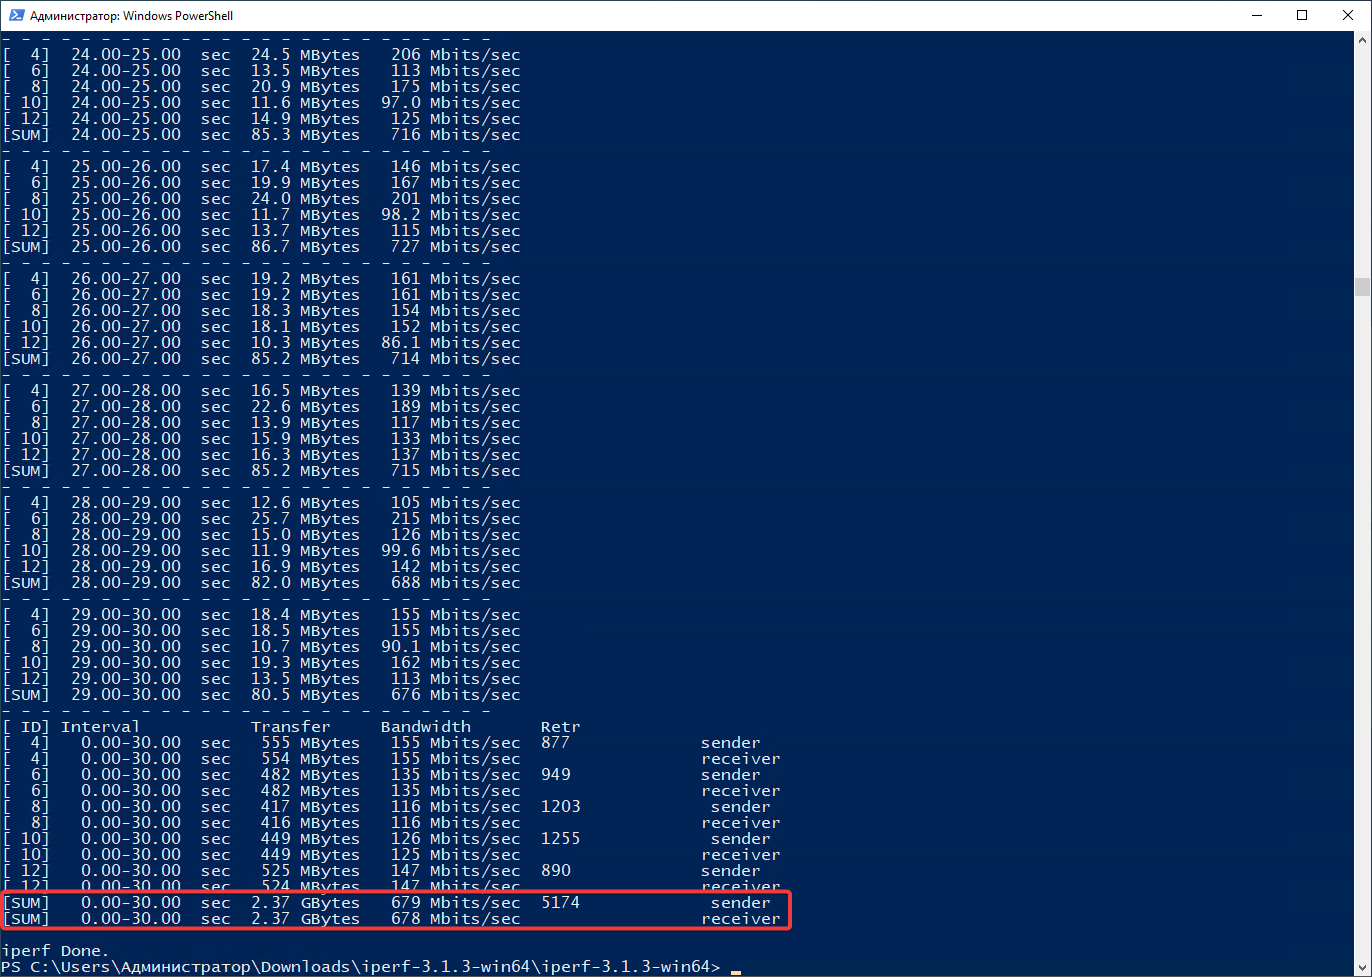
Having studied the necessary theory, you may wonder how to measure the speed of my server or VPS correctly. There are various special services for this, the most popular of which today is iPerf3.

iPerf3 is a cross-platform console client-server program, a TCP, UDP, and SCTP traffic generator for testing network throughput. The client and server functionality is completely free. They are quite easy to install on any popular operating system.

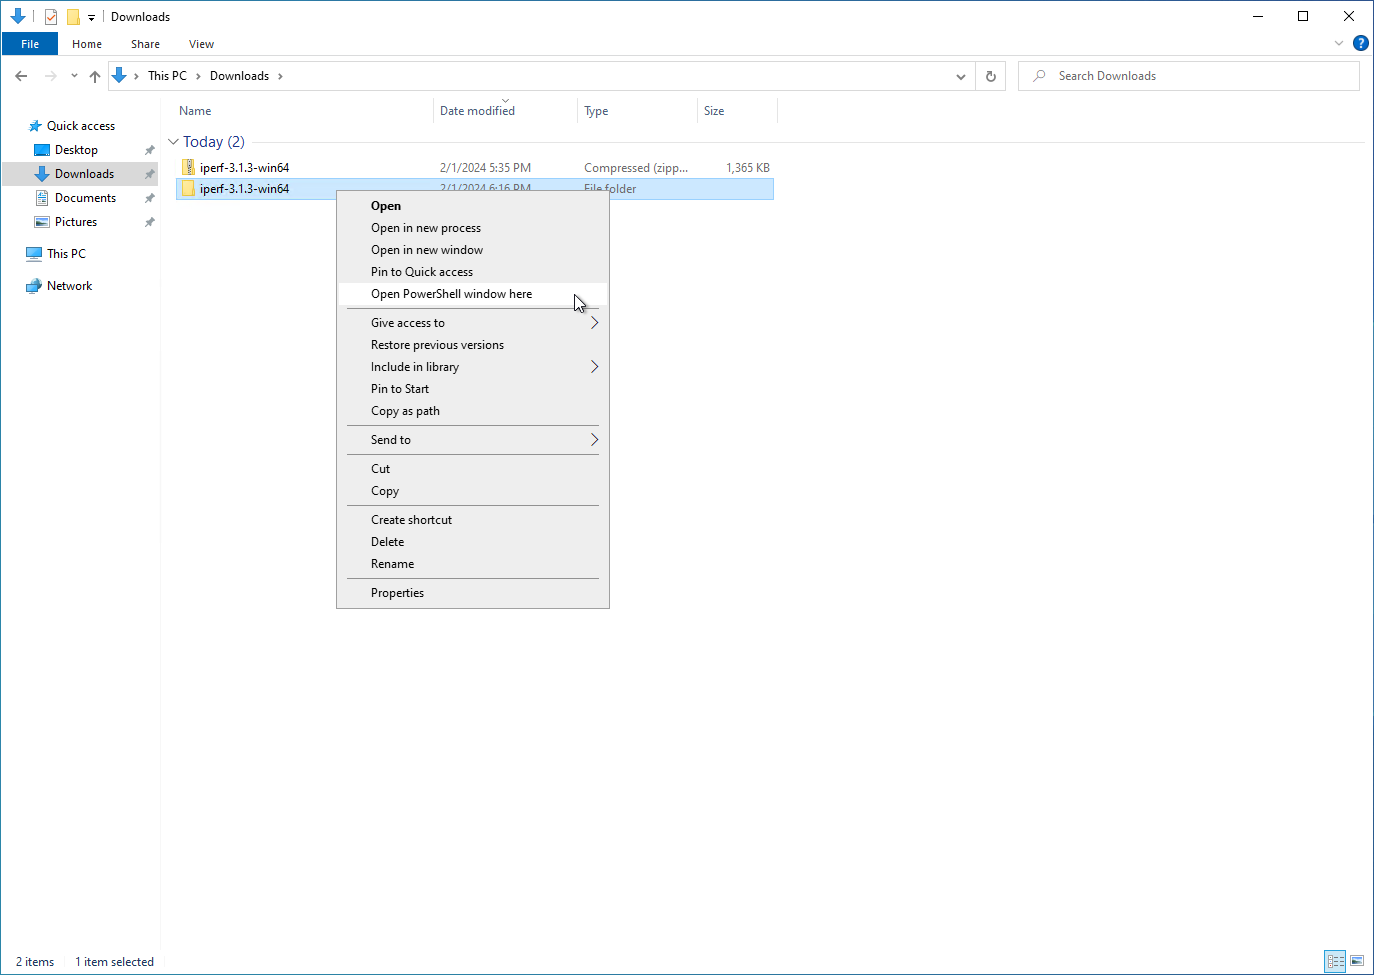
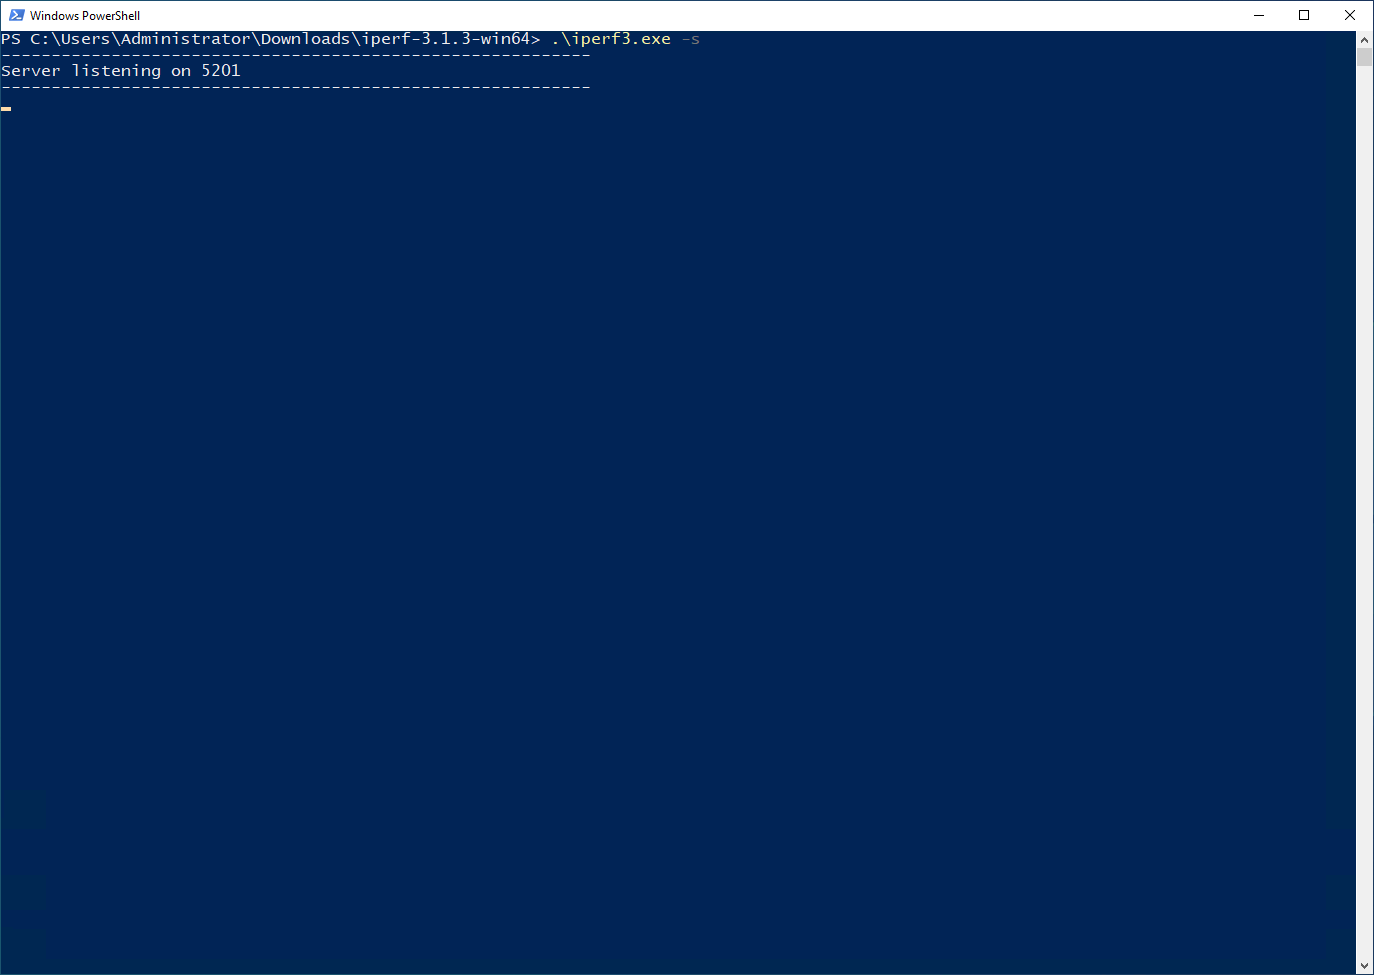
Let us take a quick look at using this program. More detailed documentation is provided on the project's official website where you can also download it. To use this utility, you need to run the program on one of the points in the server role and connect to the running server in the client role.

If you are just planning to become a client of SIM-Networks and want to make sure of the speed of your network connection, contact technical support as a registered user. We will provide you with an address with the iPerf3 program running as a server.

Step-by-step instructions for launching iPerf3 for Windows

To run iPerf3 as a server, you must follow two rules:

  1. The server must be accessible over the network from the verification point, where iPerf3 will be launched as a client.

  2. The server must have TCP and UDP ports open for incoming connections on which the iPerf3 server is running (by default - 5201).

After you have downloaded the program from the official website and made sure that the server is accessible over the network, the first thing we need to do is configure the Windows firewall.

Run a command prompt as administrator and enter two commands in turn:

netsh advfirewall firewall add rule name="Allow TCP Port 5201 for iPerf3" dir=in action=allow protocol=TCP localport=5201

netsh advfirewall firewall add rule name="Allow UDP Port 5201 for iPerf3" dir=in action=allow protocol=UDP localport=5201

This action can also be performed in graphical mode; administrator rights are required. To do this, run “Control Panel” -> “System and Security” -> “Windows Defender Firewall”, in the left navigation column, and find “Advanced settings”.

In the opened window select "Rules for incoming connections"

Therefore, at this stage, we need to create 2 rules: 1 – for connecting via TCP and 2 – for connecting via UDP. Click "Create a rule" -> Check the box "For port" -> The first time we leave "TCP protocol", the second time we change it to "UDP protocol" in the "Specified local ports" field, enter port 5201 -> Select "Allow connection" -> Check the boxes next to all profiles -> Specify a rule name that is understandable to you "Allow TCP/UDP Port 5201 for iPerf3"

When we have created the allowing rules, we can launch our iPerf3 as a server. To do this, we need to find the directory with the downloaded and unzipped program and open it in the command line. Right-click on the directory while holding Shift and select “Open PowerShell window.”

This way, the command line will open in the directory we need and all we have to do is start the iPerf3 server with the command:

.\iperf3.exe -s

If you see a similar picture, then the server has started successfully. All we have to do is connect to it using the client.

Now on the device from which we will be testing, open the command line in the same way, but enter one of the following commands to connect:

.\iperf3.exe -c ip_your_server -P 5 -t 180 -p 5201

.\iperf3.exe -c ip_your_server -P 5 -t 180 -p 5201 -R

Now a little more about the launch keys:

Key Description
-c ip_your_server Runs in client mode to connect to the ip_your_server server. Attention! ip_your_server must be replaced with a real address.
-P 5 Runs testing in 5 threads. Recommended values are from 3 to 5.
-t 180 Testing will last for 180 seconds.
-p 5201 We indicate the port on which the server is running, in this case the default port.
-R Runs testing in reverse mode, checking the speed from the server to the client.

Testing in one thread does not make much sense for the reasons described at the beginning.

After the number of seconds specified in the -t key, you will see the average result for the overall speed:

You also need to test UDP for comparison. Its performance will be different from TCP. Testing UDP in multi-threaded mode is impractical. However, it is necessary to set the width of the generated stream using the "-b" parameter. Otherwise, it will be 1 Mbit/s. You can take the results of the TCP test as a basis, but overestimate it by approximately two times.

iperf3.exe -c ip_your_server -t 180 -p 5201 -u -b 900M

iperf3.exe -c ip_your_server -t 180 -p 5201 -u -b 900M –R

Key Description
-c ip_your_server Runs in client mode to connect to the ip_your_server server. Attention! ip_your_server must be replaced with a real address.
-u Starts testing using the UDP protocol.
-b 900 Sets the width of the generated stream.
-t 180 Testing will last for 180 seconds.
-p 5201 We indicate the port on which the server is running, in this case the default port.
-R Runs testing in reverse mode, checking the speed from the server to the client.

Now, after conducting all four tests, we can draw full conclusions about the connection speed between two points on Windows.

Custom Server

Custom server

Create your own custom dedicated server

See configurator

Step-by-step instructions for launching iPerf3 for Linux

Network speed testing on Linux differs only by the method the iPerf3 packages are installed. We still need to download the program and run it as a server on one side and as a client – on the other.

Installing iPerf3 Debian and derivatives (Ubuntu/Linux Mint/Proxmox):

apt install -y iperf3

Installing iPerf3 RedHat and derivatives (Centos/Fedora/Oracle Linux)

yum install iperf3

Installing iPerf3 Arch and derivatives (Manjaro)

pacman -S iperf3

Since iPerf3 is a cross-platform utility, all keys and commands will completely coincide with the keys for Windows. In addition, by default, in Linux systems, the firewall is open and does not require preliminary settings.

Was this article helpful?

Tags:

#server

Did you like the article?

Cookie consent

By clicking «I agree», you consent to our website's use of cookies to give you the most relevant experience by remembering your preferences and repeat visits. However, you may visit «Manage сookies» to provide controlled consent. Learn more

Cookies settings

functional

Necessary cookies are crucial for the basic functions of the website and the website will not work in its intended way without them.

Analytics

Analytical cookies are used to understand how visitors interact with the website.

Advertisement

Advertisement cookies are used to provide visitors with relevant ads and marketing campaigns.