
For remote access to the server, SSH or RDP access is often used, but in some situations (such as reinstalling the OS, or restoring the file system), access to the server in cases where the network interface does not work for one reason or another is possible only when help from IPMI.
Having received access data from your provider - namely: IP address, login, and password (note that these data are different from your server data!) - enter the IP address in the address bar of the browser, then fill in the login and password fields and log in.
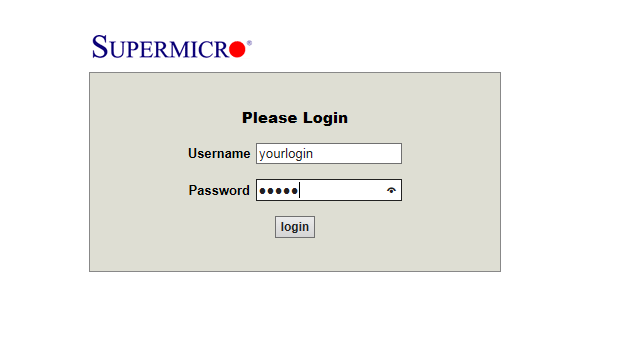
Important: for correct operation, you must have the current version of the JAVA machine (JRE) installed. You can download it from http://java.com
After successful authorization, you will be taken to the control panel.
The first column, System, contains general information about IPMI, as well as a screenshot of your server.
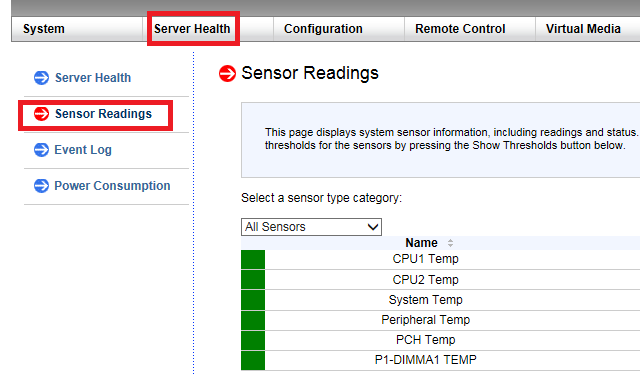
The Server Health column contains information directly about the server.
The Sensor Readings tab allows you to find out the temperature of the processor, and the operation of the cooling system and displays the voltage used.
Useful information is also contained in the Power consumption section: this page displays data on power consumption, including maximum, minimum, and average values (in watts) in the last hour, day, and week.
The next Configuration column refers directly to configuring IPMI itself, not your server.
The server owner does not need to change the settings in this section, and in most cases, access to changes will be denied.
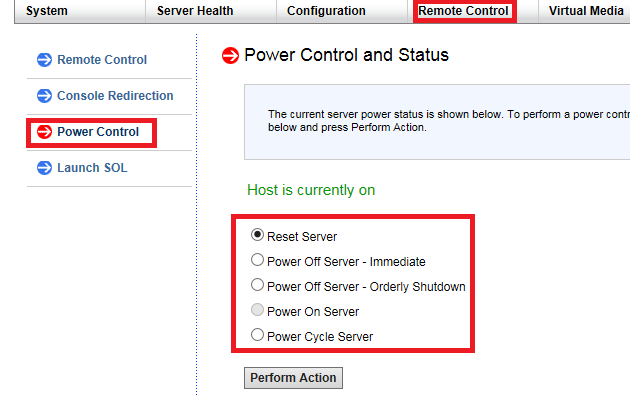
The Remote Control column is the most requested.
Her Power Control tab allows you to turn off, turn on and restart the server.
The Console Redirection tab allows you to access server management as if you were directly in front of its monitor with a keyboard.
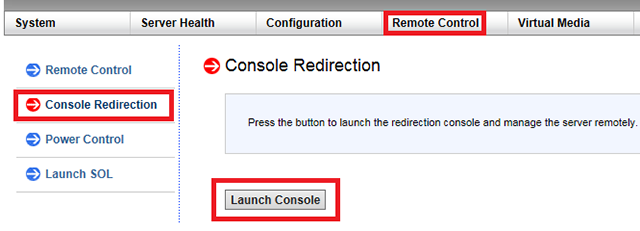
To do this, click the Launch Console button, after which the Java application will start (you may be prompted to save the executable file on the PC - in this case, you need to run it).
In some cases, an error may occur during connection - in this case, use the IKVM RESET tab from the Maintenance column.
In the console itself, in the Virtual Media column, you will have the opportunity to launch a virtual keyboard, as well as connect a disk image with the necessary software or operating system for installation.

After selecting the image, be sure to click the Plug in button.
In many cases, using this section is more convenient than using the tab of the same name directly in the IPMI panel.
The on-screen keyboard looks like this:
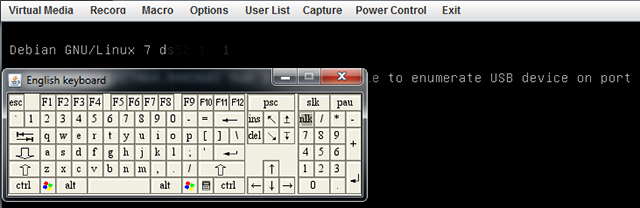
The Record tab allows you to record everything that happens to the server. The Macro tab is used to send keyboard shortcuts to the server (Ctrl+Alt+Del, for example). Useful is in the Options tab the ability to configure hotkeys (Hotkey). Power Control essentially duplicates the section of the same name in IPMI. Returning directly to IPMI, I would like to mention that the Virtual Media section in it is less convenient than in the server management console, from the Maintenance tab, the end-user needs the ability to restart KVM. The Miscellaneous tab allows you to find out the post-code status in the BIOS and is rarely used.


