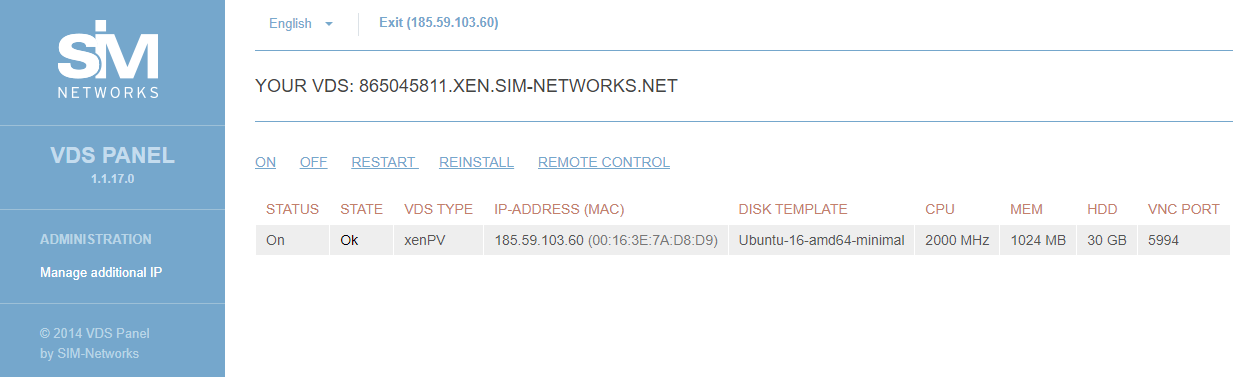
The command menu is just above the list:
- ON/OFF buttons allow you to turn the server on and off respectively;
- RELOAD performs a reboot;
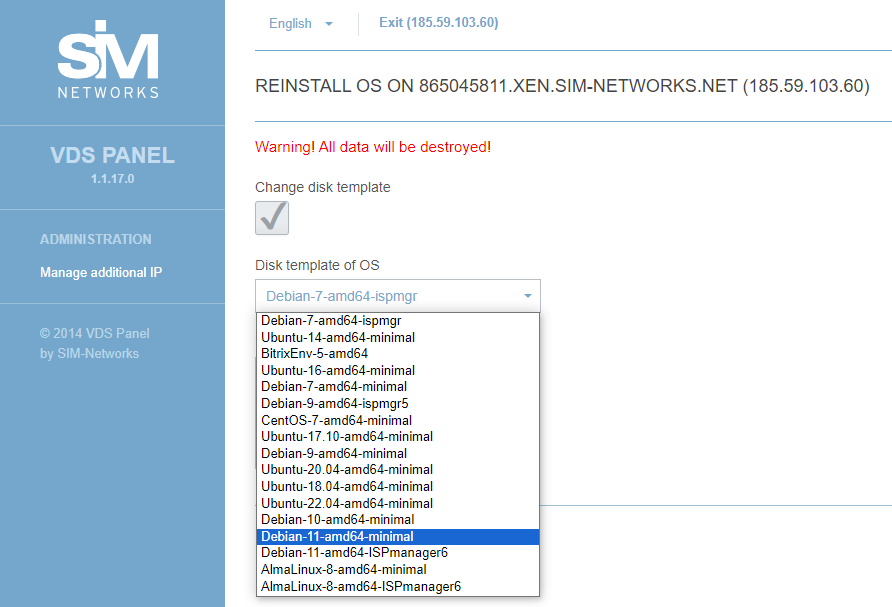
- REINSTALL allows you to change the VDS disk template with a full OS reinstallation.
The disk template determines the type of OS and set of pre-installed software in the VDS. Those that contain the --minimal suffix are the minimal server installation of the corresponding OS. After deploying one of them, the client receives a server available for remote administration via SSH, without any server software in it. All software must be installed by the user themselves. Templates with the -ispmgr suffix include the ISPmanager 4 Lite control panel and a set of server software for the web virtual hosting service. The license for ISPmanager is provided by the technical support service on demand in accordance with the terms of the selected tariff plan.
To reinstall the OS in VDS, check the Change disk template option, select the required template and confirm the operation by clicking the REINSTALL button. Please note that performing this operation permanently deletes all data on the client server.
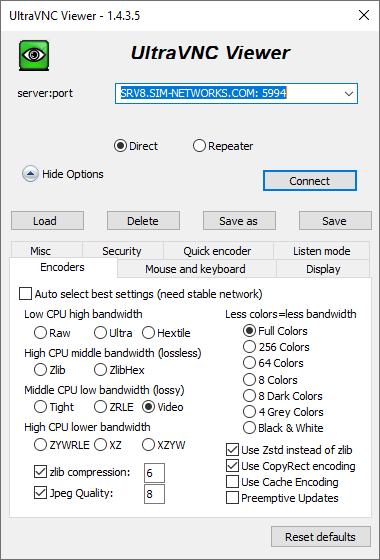
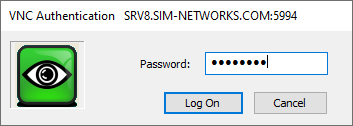
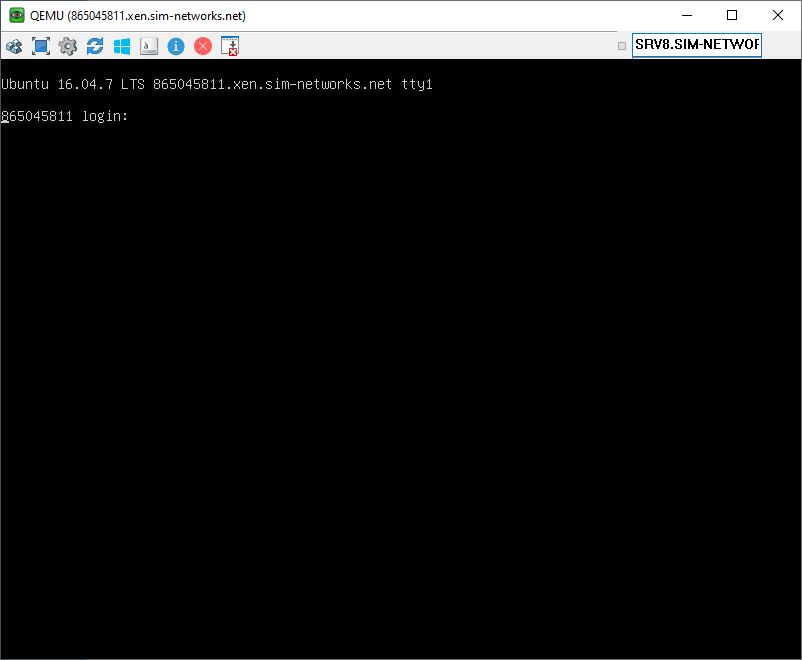
To connect to the VDS via SSH from Windows, it is recommended to use the PuTTY client. Use WinSCP to copy files via SFTP. Log in under the root administrator account with the password sent to the client's e-mail address when activating the service.
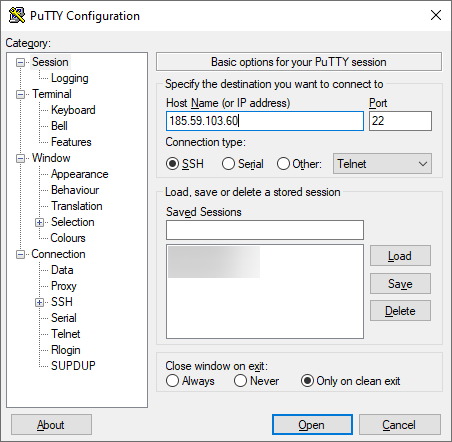
Let’s look into connecting through PuTTY. It allows you to access the command line interface remotely. Start the client, specify the IP VDS address in the Host Name (or IP address) field and click the Open button.
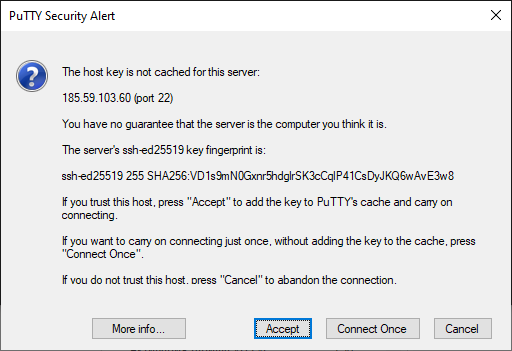
When connecting for the first time, confirm the need to add the server key to the PuTTY cache by clicking on the Yes button.
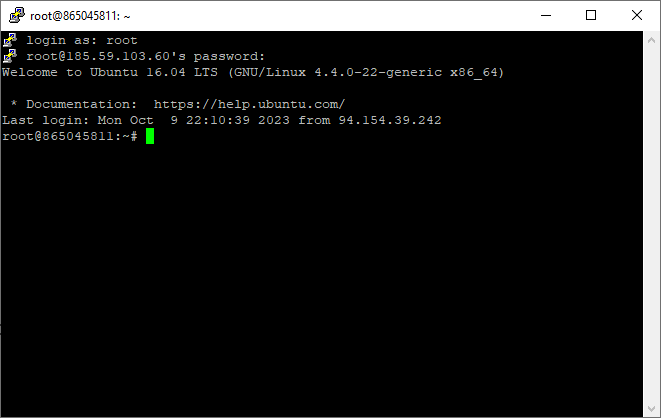
In the window that opens, log in with root administrator credentials.
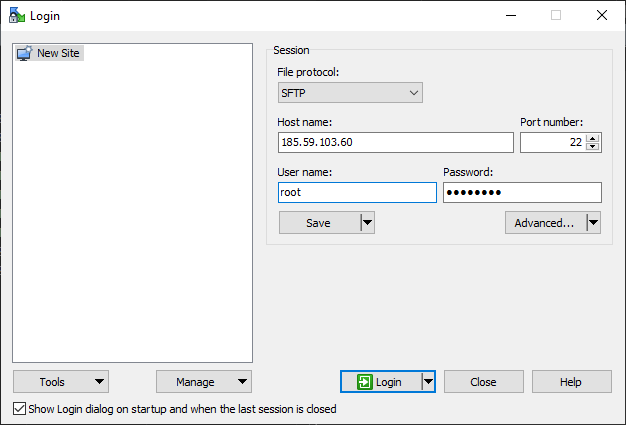
PuTTY does not allow you to copy files; WinSCP is used for this purpose. In the Host name: specify the IP address of the VPS, User name: and Password: in the respective fields of the connection window – root and its password, respectively, File protocol: - SFTP. Press the Login button.
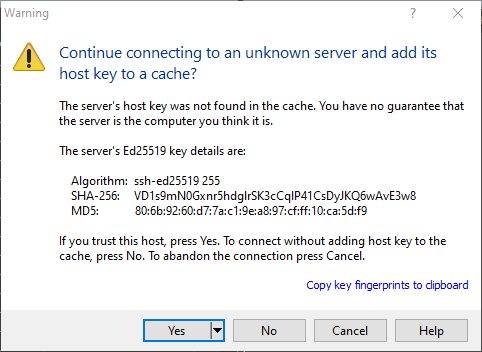
When connecting for the first time, confirm the need to add the server key to the WinSCP cache by clicking the Yes button.
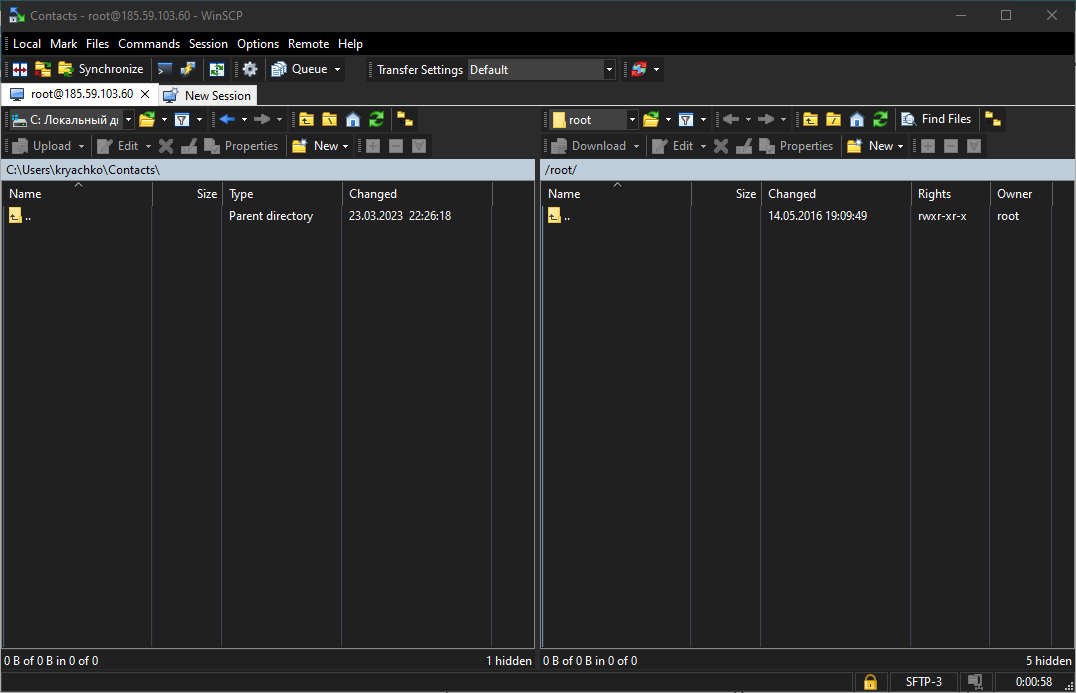
After the connection is made, the user's local file system becomes available on the left, and the remote VDS on the right in the window that opens.


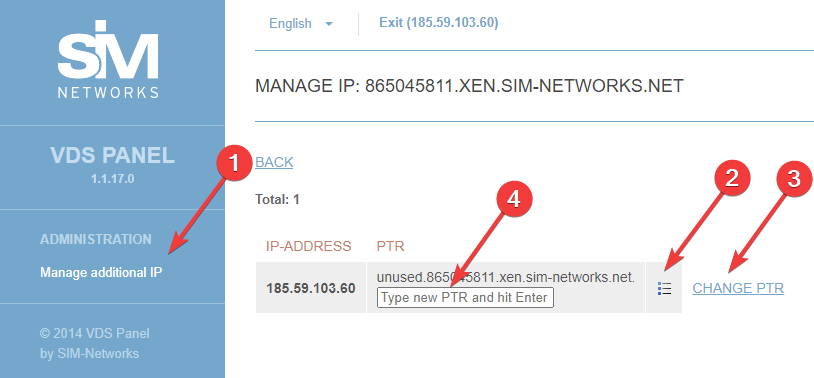
 button in the required IP address line, then CHANGE PTR. In the field that appears, enter the desired hostname, making sure to include a dot at the end, and press Enter on the keyboard to confirm.